SK-YJ000RFSHY-KP 100024
Surface-mount devices (SMDs) are widely used in modern electronic products. Due to their small size and excellent electrical performance, soldering these components requires meticulous skills and professional tools. This article will detail the soldering methods and tips for small SMD components on a soldering station, helping electronic engineers and enthusiasts master this important skill.
I. Preparation before soldering
Adequate preparation is crucial to ensure soldering quality before starting the process.
1.Tools and materials preparation:
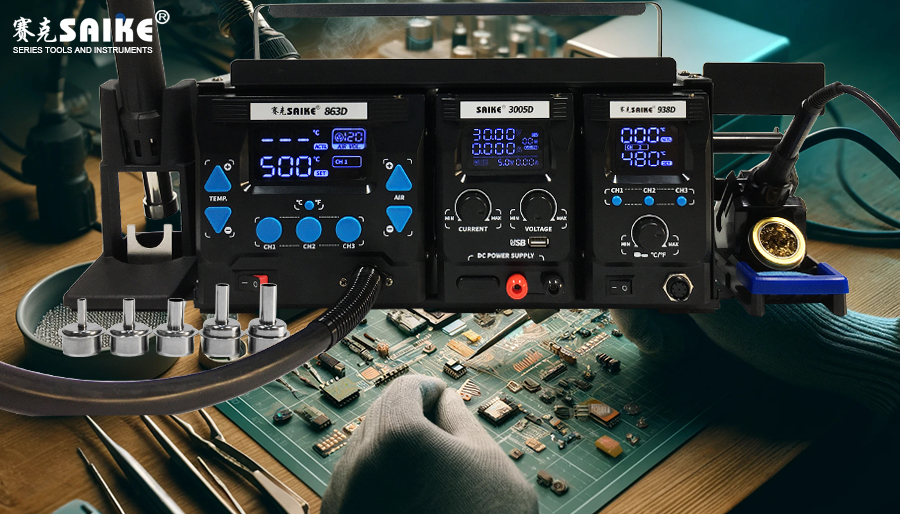
– Soldering station and tools: Choose a soldering station with temperature control, and a recommended temperature range of 200°C to 400°C. Soldering tools include a fine-tip soldering iron, hot air gun, and tweezers.
– Solder wire: Select a fine-diameter solder wire, commonly with a diameter of 0.3mm to 0.5mm.
– Flux: Flux helps remove oxides and improve soldering quality. You can choose between liquid flux or soldering paste.
– Cleaning tools: Alcohol, lint-free cloths, and cleaning brushes for cleaning the soldering surface.
2.Work environment preparation:
– Workbench: Keep the workbench clean and tidy, and equip it with an anti-static mat.
– Lighting: Good lighting conditions help observe soldering details clearly. A desk lamp or head-mounted magnifying glass with a light is recommended.
II. Soldering methods for small SMD components
There are two soldering methods for small SMD components: manual soldering and hot air soldering.
1.Manual soldering method:
Manual soldering is suitable for soldering single or a few components.
Steps:
– Pre-apply flux: Apply a thin layer of flux to the pads and component pins.
– Fix the component: Use tweezers to accurately place the SMD component on the pad.
– Heat the pad: Heat the pad with a fine-tip soldering iron, and simultaneously touch the pad with the solder wire to melt the solder and form a solder joint.
– Solder the pins: Repeat the above steps to solder each pin of the component, ensuring each solder joint is uniform and full.
Tips:
– Temperature control: Maintain a moderate temperature on the soldering station, typically around 350°C, to prevent damage to the component from excessive heat.
– Soldering time: The heating time for each solder joint should not be too long, generally controlled within 2-3 seconds.
– Clean the soldering iron tip: Regularly clean the soldering iron tip to keep it clean and ensure good thermal conductivity.
2.Hot air soldering method:
Hot air soldering is suitable for batch soldering or soldering components with fine pitches.
Steps:
– Apply flux: Evenly apply flux to the pads.
– Place the component: Use tweezers to place the SMD component on the pad.
– Heat and solder: Use a hot air gun to heat the component and pad at an appropriate temperature and airflow until the solder melts and forms a reliable solder joint.
Tips:
– Hot air temperature: Adjust the hot air temperature according to the component’s heat resistance, typically between 250°C and 300°C.
– Airflow control: Control the airflow of the hot air gun to prevent the component from being blown away or damaged.
– Soldering angle: Operate the hot air gun at an appropriate angle and distance to distribute heat evenly across the soldering area.
III. Inspection and post-soldering processing
Inspecting and processing solder joints after soldering is an essential step to ensure soldering quality.
1.Inspect solder joint quality:
– Visual inspection: Check if the solder joints are uniform and full, if the solder completely covers the joints, and if there are any cold or false solder joints.
– Magnified inspection: Use a magnifying glass or microscope to inspect the details and confirm no short circuits or cold solder joints.
2.Clean the solder joints:
– Clean with alcohol: Use alcohol and a lint-free cloth to clean the solder joints, removing residual flux and impurities.
– Use a cleaning brush: For hard-to-clean areas, use a cleaning brush for careful cleaning.
3.Functional testing:
– Power-on test: Perform a power-on test on the soldered circuit board to check if all components are working properly.
– Functional testing: Conduct functional tests according to the circuit design to ensure the circuit performance meets expectations.
IV. Common Problems and Solutions
During the soldering process of small SMD components, there may be some common problems encountered, and here are some solutions.
1.Cold solder joint or false soldering
– Solution: Reheat the solder joint and add a moderate amount of solder to ensure that the solder completely covers the solder pad and pin.
2.Solder joint short circuit
– Solution: Use solder wick or solder sucker to remove excess solder and re-solder.
3.Component displacement
– Solution: Use tweezers to readjust the component position and re-solder.
4.Solder joint oxidation
– Solution: Use flux before soldering, and keep soldering tools and soldering surfaces clean.
V. Summary
Soldering small SMD components requires meticulous skills and professional tools. Through reasonable preparation, correct methods, and careful inspection, soldering quality can be ensured. Whether it’s manual soldering or hot air soldering, operators need to have a certain level of experience and patience. Through continuous practice and experience summarization, soldering skills can be gradually improved, providing support for the reliability and performance of electronic products.


