SK-YJ000RFSHY-KP 100045
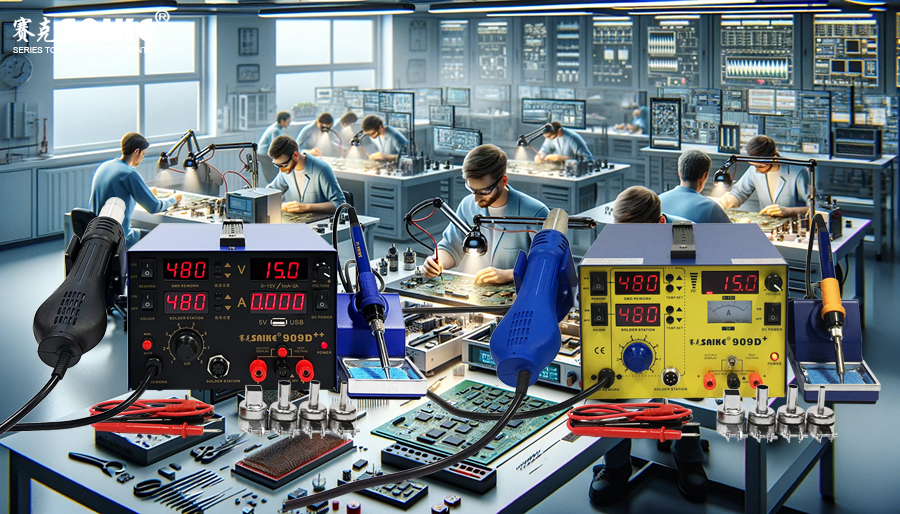
Soldering and desoldering of electronic components, as well as circuit repair, are essential skills for electronic engineers and maintenance personnel. Proficient use of a hot air soldering station, soldering station, and DC stabilized power supply can greatly improve work efficiency and maintenance quality. This article will provide a detailed explanation of the specific operating steps and precautions.
I. Preparation
1.Tools and equipment preparation:
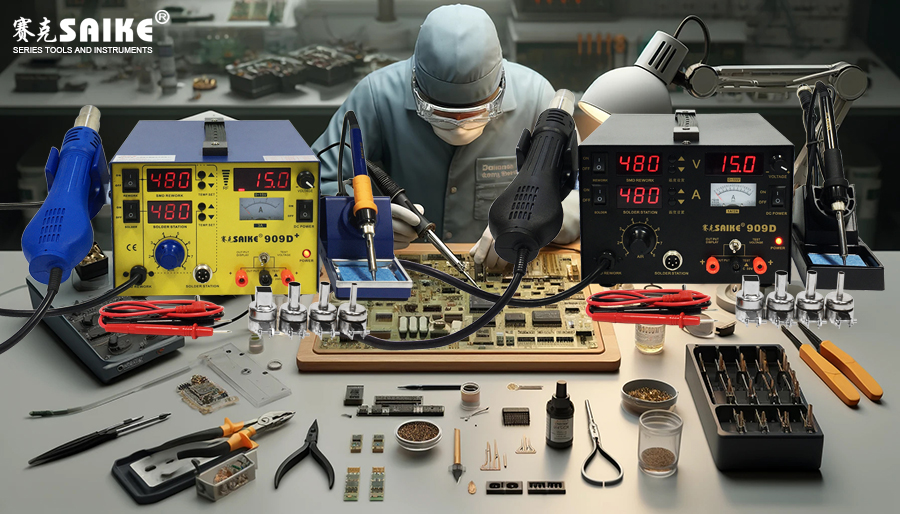
– Hot air soldering station: Used for desoldering densely packed and sensitive components (such as integrated circuit chips).
– Soldering station: Used for soldering and desoldering general electronic components.
– DC stabilized power supply: Used to power the circuit, conduct tests, and troubleshoot.
– Auxiliary tools: Tweezers, solder, soldering wire, soldering paste, solder sucker, flux, cleaning tools (such as alcohol and brushes).
2.Safety measures:
– Anti-static measures: Wear an anti-static bracelet, and lay an anti-static mat on the workbench.
– Ventilation measures: Operate in a well-ventilated environment, or use exhaust equipment to remove smoke generated during soldering.
– Personal protection: Wear protective goggles and a mask to prevent splashes and harmful fumes during soldering.
II. Use of the hot air soldering station
Steps for desoldering electronic components:
1.Preparation: Adjust the temperature and air speed of the hot air soldering station to a suitable range (generally, the temperature is set between 300-350℃, and the air speed is medium).
2.Preheating: Before removing the component, use the hot air gun to preheat the solder joints around the component to be removed. This helps to heat evenly and prevent circuit board deformation.
3.Desoldering: Hold the hot air gun close to the component to be removed, and evenly heat the solder joints. Once the solder melts, gently remove the component with tweezers.
Precautions:
– Avoid prolonged heating of a single point to prevent damage to the circuit board.
– Maintain an appropriate distance between the hot air gun and the circuit board to prevent high temperatures from damaging the component.
– Ensure that the hot air gun moves evenly to prevent local overheating.
III. Use of the soldering station
1.Soldering electronic components:
Steps:
a.Preparation: Set the soldering station temperature to a suitable range (generally between 350-400℃).
b.Cleaning the soldering site: Use alcohol and a brush to clean the soldering site, removing oxides and impurities.
c.Applying flux: Coat the soldering site with flux to aid solder flow and adhesion.
d.Soldering: Bring the soldering wire and soldering iron into contact with the solder joint. Once the solder melts, remove the soldering wire, keep the soldering iron in place for a moment to form a good solder joint, and then remove the soldering iron.
Precautions:
– Keep the soldering iron tip clean during soldering. You can use a sponge or cleaning ball to wipe the soldering iron tip.
– Avoid using too much solder to prevent cold solder joints or false soldering.
– Ensure that the solder joints are full and smooth, with no cold solders or air bubbles.
2.Desoldering electronic components:
Steps:
a.Heating the solder joint: Bring the soldering iron tip into contact with the solder joint of the component to be removed and heat the solder until it melts.
b.Solder sucking: Quickly use a solder sucker to remove the melted solder.
c.Removing the component: Use tweezers to remove the component. If there is residual solder, repeat the heating and solder sucking process.
Precautions:
– Preheat the solder sucker before use to improve solder sucking efficiency.
– Pay attention to protecting the component and circuit board during removal to avoid damaging the solder pads and traces.
– Ensure that the nozzle of the solder sucker remains clean to prevent clogging.
IV. Use of DC stabilized power supply for circuit power supply and testing
Steps:
1.Setting voltage and current: Set the output voltage and current limit of the DC stabilized power supply according to the circuit requirements.
2.Connecting the circuit: Use alligator clips or probes to connect the output of the stabilized power supply to the power input of the circuit.
3.Powering on: Gradually increase the voltage and observe the circuit operation.
4.Troubleshooting: When the circuit malfunctions, use a multimeter and oscilloscope for testing and troubleshooting by adjusting the voltage and current.
Precautions:
– Ensure that the power supply voltage and current settings are correct to avoid damage to the circuit.
– When connecting or disconnecting the power supply, the stabilized power supply should be turned off first to ensure safe operation.
– Regularly inspect power cords and connectors to ensure they are not loose or damaged.
V. Practical Demonstration Case
1.Case Background:
An integrated circuit (IC) on a certain circuit board is damaged and needs to be removed and replaced. Meanwhile, it is necessary to test whether the circuit function is normal after replacement.
2.Operation Steps:
a.Removing the damaged IC:
– Use a hot air rework station to heat the solder joints around the IC. After the solder melts, use tweezers to remove the IC.
b.Cleaning the solder pads:
– Use the soldering station and a solder sucker to clean the residual solder on the IC solder pads.
– Use alcohol and a brush to clean the solder pads, ensuring no residues remain.
c.Soldering the new IC:
– Align the new IC with the solder pads and solder each IC pin individually using the soldering station and solder wire.
– Check the soldering quality to ensure there are no cold solder joints or short circuits.
d.Testing the circuit function:
– Use a DC stabilized power supply to power the circuit board, gradually increasing the voltage to the rated value.
– Observe the circuit operation and use a multimeter to measure the voltage at key points, ensuring the IC is working properly.
3.Result Analysis:
– If the circuit operates normally, it indicates successful component replacement.
– If abnormalities are found, it is necessary to recheck the soldering quality or other components.
VI. Summary:
Through detailed step-by-step explanations and precautions, the process of using a hot air rework station, soldering station, and DC stabilized power supply for electronic component desoldering and circuit repair becomes more systematic and safe. Regular practice and accumulation of operational experience will further enhance operational skills and repair effects. Ensuring that every step of the operation follows the specifications can effectively avoid damaging components and circuit boards, improving the success rate of repairs.


