SK-YJ000DDXXQ-KP 100005
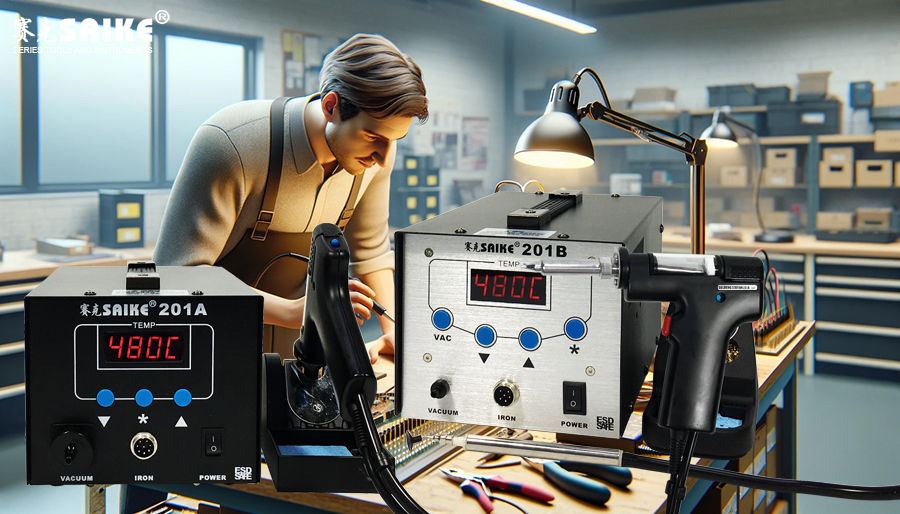
To ensure the efficient and safe operation of the electric solder sucker, initial testing and corresponding adjustments are very necessary. This not only helps to confirm the performance and functionality of the equipment but also allows timely detection and resolution of potential problems. The following are detailed steps for initial testing and adjustment of the electric solder sucker.
I. Initial Testing Steps
1.Connect to Power Supply
– Before conducting any tests, ensure that the solder sucker is properly connected to a suitable power supply. Check that the power cord and plug are safe, undamaged, and securely connected.
2.Inspect Equipment Status
– Before turning on the device, visually inspect the solder sucker for any obvious damage or abnormalities, such as cracks, deformations, or signs of burning. Ensure that all movable parts (such as the soldering nozzle) are properly installed and secured.
3.Initial Power-on
– Turn on the power supply of the solder sucker and observe whether its heating indicator light or display screen is working normally. Some models of solder suckers may have a self-check function, so pay attention to whether the device displays any error codes.
4.Initial Heating Test
– Set a commonly used temperature value, such as 300°C. Allow the solder sucker to heat up to the set temperature, and use a thermometer (such as an infrared thermometer) to check if the temperature of the soldering nozzle matches the set value.
5.Suction Test
– After the solder sucker reaches the operating temperature, attempt to perform a soldering test on a scrap circuit board. Observe whether the soldering is smooth and note whether the suction is sufficient to completely suck in the molten solder.
II. Adjustment Steps
1.Temperature Adjustment
– If there is a deviation between the actual temperature and the set temperature, or if the soldering effect is not ideal (the solder is not completely melted or is overheated), it is necessary to adjust the temperature setting. Most electric solder suckers allow users to adjust the temperature through a knob or digital panel.
2.Adjust the Suction
– Adjust the suction strength based on the soldering effect. If the soldering is not thorough, it may be necessary to increase the suction; if small components around the element are accidentally sucked in during soldering, it may be necessary to reduce the suction.
3.Check for Cleanliness and Clearance
– Ensure that there is no solder residue blocking the inside of the soldering nozzle. If necessary, clean the soldering nozzle and solder storage chamber to ensure unobstructed passageways.
4.Repeated Testing
– After each adjustment, repeat the soldering test until the optimal working state is achieved. This includes stable temperature control and effective suction.
III. Conclusion
Through careful initial testing and adjustment, the electric solder sucker can achieve optimal operating efficiency, ensuring the quality and safety of soldering work. Always follow the manufacturer’s instruction manual to avoid damaging the equipment or affecting its performance. Regularly performing these tests and adjustments can extend the service life of the solder sucker and improve its reliability.


