SK-YJ000DDXXQ-KP 100016
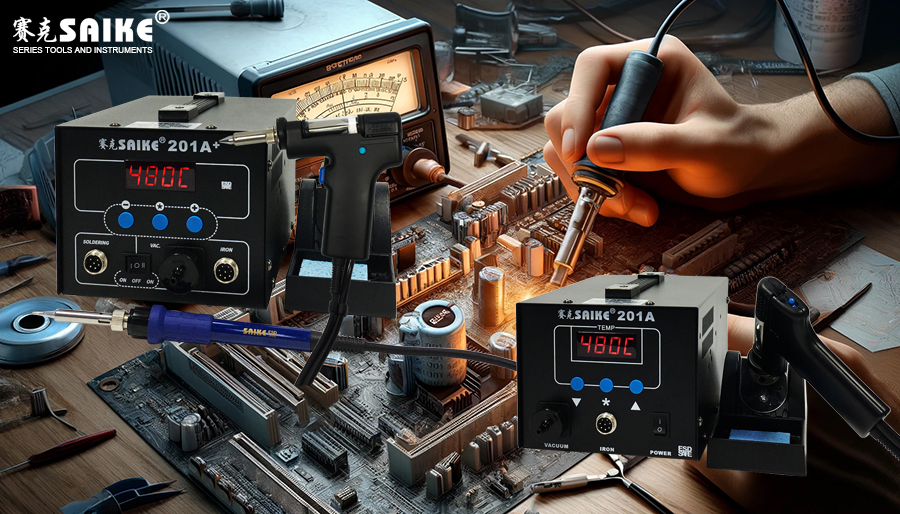
The electric solder sucker plays a crucial role in circuit board repairs, especially when removing and replacing soldered components. This case study demonstrates how to use an electric solder sucker to diagnose and replace faulty components on a common computer motherboard.
Case Background
A computer suddenly failed to start. After preliminary inspection, it was suspected that a capacitor on the motherboard might have malfunctioned. To fix this issue, we decided to use an electric solder sucker to replace the damaged capacitor.
I. Fault Diagnosis
1.Visual Inspection:
– A careful visual inspection of the computer motherboard revealed a swollen capacitor casing, indicating potential damage.
2.Testing with a Multimeter:
– Using the capacitance measurement function of a multimeter, the suspected damaged capacitor was tested, confirming that its capacitance was significantly lower than the nominal value.
II. Preparation
1.Choosing a Suitable Solder Sucker:
– An electric solder sucker suitable for small circuit board work was selected.
2.Setting the Working Temperature:
– The solder sucker temperature was set to 350°C, which is suitable for the melting point of most lead-free solders.
III. Desoldering and Replacing the Capacitor
1.Desoldering:
– The hot tip of the electric solder sucker was placed on the solder joints of the damaged capacitor.
– Once the solder melted, the suction function was immediately activated to remove the molten solder.
2.Removing the Damaged Capacitor:
– After ensuring all solder was removed, the damaged capacitor was gently taken out.
3.Installing the New Capacitor:
– The new capacitor was correctly positioned on the circuit board, aligning with the original solder pads.
– New solder was applied to the leads of the new capacitor using a soldering iron.
IV. Testing and Verification
1.Visual Inspection:
– The new solder joints were inspected for uniformity and the absence of cold solder joints.
2.Circuit Board Functionality Test:
– The circuit board was reinstalled, and the computer was started to check if it could boot and operate normally.
3.Continuous Monitoring:
– Over the next few days, the computer’s operating status was continuously monitored to ensure the repair was successful.
V. Conclusion
This case study demonstrates the application of an electric solder sucker in circuit board repairs, from fault diagnosis to component replacement. Each step is crucial. By properly using an electric solder sucker, damaged components on the circuit board can be effectively removed and replaced, restoring the device’s normal functionality. Additionally, the case study emphasizes the importance of careful inspection and testing during the repair process to ensure the quality and reliability of the repair work.


