SK-YJ000DDXXQ-KP 100004
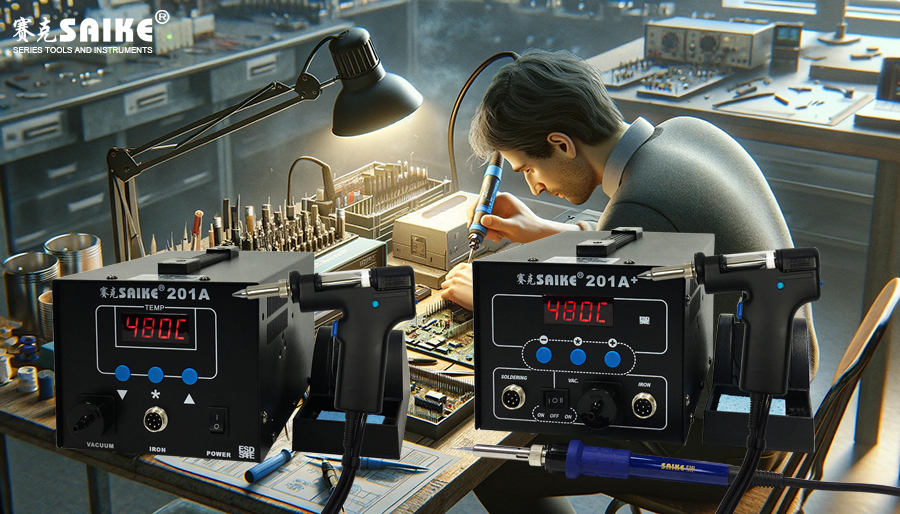
As a professional electronic equipment maintenance tool, the correct installation and configuration of the electric solder sucker are crucial to its performance. This article will introduce the installation steps and basic configuration settings of the electric solder sucker in detail, to ensure that users can maximize the functionality of this tool.
I. Installation Steps
1.Unboxing Inspection
– After receiving the electric solder sucker, first check if all components in the package are complete and undamaged. Common components include the main body, soldering nozzle, power cord, user manual, etc.
2.Assemble the Soldering Nozzle
– Connect the soldering nozzle to the main body of the solder sucker according to the manual instructions. Ensure that the soldering nozzle is securely installed to prevent it from falling off during use.
3.Connect the Power Supply
– Connect the power cord of the electric solder sucker to an appropriate power outlet. Please select the appropriate voltage and power type according to the product instructions to avoid equipment damage caused by using a mismatched power supply.
4.Perform Initial Testing
– Turn on the power and check if the solder sucker is working properly based on the indicator lights or display screen of the device. The initial heating may take a few minutes to reach the set operating temperature.
5.Adjust Temperature and Suction
– Adjust the temperature and suction of the solder sucker according to the soldering material and work requirements. Most electric solder suckers are equipped with a temperature adjustment knob or electronic control panel for precise settings.
6.Practical Operation Test
– Test the soldering effect on the actual soldering points to check if all the solder paste can be removed. If necessary, continue to adjust the temperature and suction settings until the best effect is achieved.
II. Configuration Settings
1.Temperature Setting
– Temperature is one of the key factors that affect the soldering effect. Generally, the temperature should be set between 200°C and 350°C, and the specific temperature should be adjusted according to the type of solder paste and the size of the soldering joint.
2.Suction Adjustment
– The suction needs to be adjusted according to the size of the soldering joint and the amount of solder paste. Most devices provide suction adjustment functions, allowing operators to choose the most suitable suction level based on actual conditions.
3.Cleaning Frequency Setting
– To maintain the optimal performance of the electric solder sucker, it is essential to regularly clean the soldering nozzle and solder storage chamber. Advanced models of solder suckers may be equipped with automatic cleaning functions, and the frequency of automatic cleaning can be adjusted in the device settings.
4.Safety Features
– Check and enable the device’s safety features, such as overheating protection and automatic power-off. These features can automatically cut off the power when the device encounters abnormal situations, protecting the safety of users and equipment.
III. Conclusion
Correct installation and configuration of the electric solder sucker are crucial to ensuring efficient operation and extending the service life of the equipment. By following the above steps and suggestions, users can effectively set up and use the electric solder sucker to achieve the best maintenance effect. Always refer to the user manual attached to the device for operation to ensure installation and maintenance according to the manufacturer’s guidance.


