SK-YJ000RFQ-KP 100018
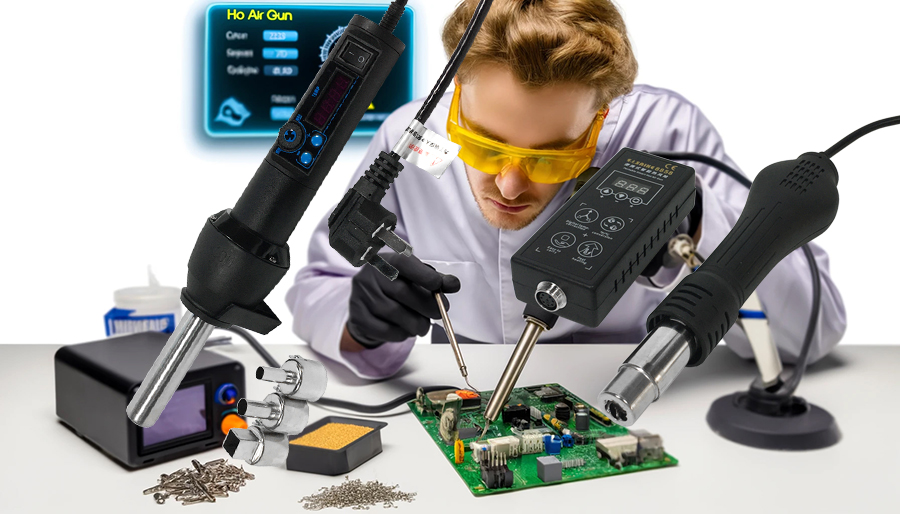
The hot air gun plays a crucial role in soldering and repair work, involving a series of delicate operational steps and techniques. The following will introduce the professional techniques for hot air gun soldering and repair in detail to help users better master this tool and improve work efficiency.
I. Preparation before soldering
1.Select suitable soldering wire: Aluminum soldering wire is recommended because it integrates well with the hot air gun. Ensure the quality of the soldering wire to avoid affecting the soldering effect.
2.Clean the soldering surface: Use alcohol and a soft brush or cloth to clean the soldering surface, removing oil stains and oxides to ensure soldering quality.
3.Prepare flux: Flux is essential for improving soldering quality. It can help the soldering tin flow better and reduce oxidation during the soldering process.
II. Hot air gun settings and usage
1.Temperature and air speed settings:
– Choose suitable temperature and air speed according to different soldering materials. For example, when soldering ordinary leaded soldering tin, the temperature is generally set to 300-350℃.
– The selection of air pressure should also be based on the actual soldering environment to ensure soldering stability and quality.
2.Selection and installation of the nozzle:
– Choose a suitable nozzle according to the size of the actual soldering site. For smaller soldering points, a smaller nozzle can be selected to improve heating accuracy.
– Ensure that the nozzle is securely installed to avoid loosening or falling off during soldering.
III. Techniques during soldering
1.Preheating: Before soldering, use a hot air gun to preheat the soldering site, which helps the soldering tin melt faster and reduces thermal stress during soldering.
2.Soldering angle and distance: Keep the hot air gun at a suitable angle to the soldering surface (usually around 45 degrees) and control the distance between the gun muzzle and the soldering point, generally recommended to be kept between 10-15 centimeters.
3.Soldering time and soldering amount: Mastering soldering time and soldering amount is crucial. Excessive soldering time may lead to overheating or burning, while too much soldering tin may form unnecessary soldering bumps.
4.Post-soldering processing: After soldering is completed, check the quality of the soldering points to ensure no false soldering or pseudo soldering. If necessary, sandpaper or a file can be used to trim the soldering points.
IV. Repair techniques
1.Remove old soldering tin: Before repairing, use a hot air gun to melt and remove the old soldering tin. Pay attention to controlling the temperature and air speed to avoid damaging surrounding components.
2.Cleaning and pretreatment: After removing oxides and residues from the soldering surface, flux can be used to pretreat the soldering surface to improve the repair effect.
3.Repair soldering: Place the new soldering wire in the position that needs to be repaired, and then use a hot air gun to heat and melt it. Pay attention to controlling the soldering time and soldering amount.
4.Inspection and testing: After the repair is completed, the repaired site should be inspected and tested to ensure that the repair effect meets the requirements.
V. Safety precautions
1.Keep the air circulating: When using a hot air gun, ensure good air circulation in the working environment to avoid the accumulation of harmful gases.
2.Avoid working in a water environment: Since the hot air gun is an electric tool, it should be avoided in damp or water-exposed places.
3.Personal protection: Wear protective glasses, gloves, and other personal protective equipment during use to avoid accidental injuries caused by high temperatures. Also, be careful not to blow the hot air gun directly onto unprotected body parts such as hair or skin to prevent injury.
4.Testing and familiarity: Before operating the hot air gun, it is recommended to conduct a simple test to familiarize yourself with its performance and operation and ensure compatibility with the application material. In addition, after each use, turn off the power and wait for it to cool before storing it to ensure safety.
VI. Summary
By mastering these professional techniques and strictly following safety regulations, users can more efficiently complete hot air gun soldering and repair work.


